How to install Laravel in Ubuntu
Learn how to install Laravel in Ubuntu. It doesn't matter which version of Laravel you are using, just follow along. We are going to use the LEMP stack instead of LAMP stack. LEMP stands for
- Linux
- Engine-X (Nginx)
- MySQL
- PHP
It's up to you to decide whether to use LAMP stack or LEMP stack because it doesn't make a difference to Laravel application. I prefer to use LEMP stack (Nginx) because it seems to be the preferred stack among the Laravel community. Anyway, Apache will work fine if you prefer to use Apache. If you are having a confusion whether to use Apache or Nginx and it wouldn't make any difference for you then you could use Nginx.
Note: as a side note, you will see me using the term sudo in front of many of the commands in this tutorial. Sudo stands for “super-user do” and tells our computer to do whatever we are asking as the super user. The super user is basically the admin.
Note: as a side note, you will see me using the term sudo in front of many of the commands in this tutorial. Sudo stands for “super-user do” and tells our computer to do whatever we are asking as the super user. The super user is basically the admin.
Step 1: Uninstall pre-installed Apache server from your system
First of all, we need to uninstall Apache server which is pre-installed in Linux so that it does not collide with Nginx which we are going to install. For uninstalling Apache2 from the system run
sudo apt remove apache2
sudo apt remove apache2
This will remove apache2 from your system. But, this is not enough to remove other packages associated with Apache from your system. For that, Run
sudo apt autoremove
sudo apt autoremove
This will remove all other packages associated with Apache. Don't worry, this will not remove any kind of necessary package from your system.
Step 2: Update Package installer
Before starting any kind of installation works we need to update our Package installer.
sudo apt update
Once that's been done you can move to the next step.
(Optional): You can run sudo apt upgrade to update all the currently installed packages on your system.
Step 3: Install Nginx
Since now we have uninstalled Apache server from our system we can install Nginx server. So run this command to install it
sudo apt install nginx
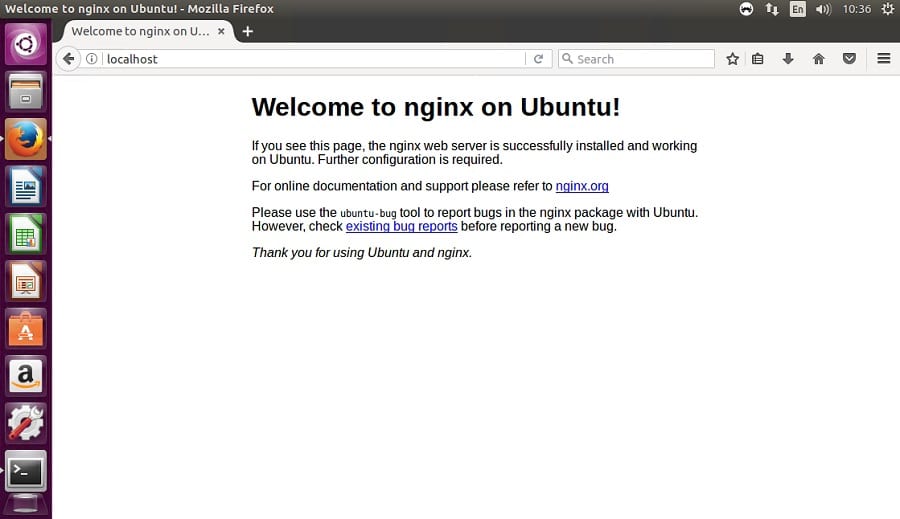
And that's everything you need to do for installing Nginx server. Once you have installed Nginx check whether it is working by going to http://localhost. If you see something like this then you have successfully installed Nginx on your system
Step 4: Install MySQL
Next step is to get our database working. For that, we will use MySQL. You can use any other services if you want, but I am going with MySQL.
sudo apt install mysql-server
This will start installing MySQL. Let the installation run until a bright pink/purple screen pops up. You will want to type in a password to use for the root MySQL user. Choose something secure here and then click the enter key.Of course, you need to confirm your password match. Just retype it and you are done with MySQL.
Step 5: Install PHP
Ubuntu instance probably already has base PHP set up. But you need to set up PHP for processing. This comes in the form of a plugin called php-fpm. We need php-mysql which allows us to use PHP to talk to MySQL. Lastly, we will install php-mbstring which is a requirement for Laravel.
sudo apt install php-fpm php-mysql php-mbstring
This will install the latest version of PHP into your system. At the time of writing this document, the latest version of PHP is 7.2. Now with the installation of PHP, we have successfully set up our LEMP stack. Next, we are going to install PhpMyAdmin and do other stuff!
Step 6: Install PhpMyAdmin
This is an optional step. This step varies from user to user. If you want a graphical interface to interact with MySQL databases then you might need to install PhpMyAdmin.
sudo apt install phpmyadmin
Once the command started running, you will be asked for some questions.
- You will be asked to select a web server that should be automatically configured to run PHPMyAdmin. As there is no option for Nginx here, press TAB and make sure that the red dot is gone from apache2 and then ENTER to continue without selecting a web server.
- Then you will be asked whether to configure the database for phpmyadmin with dbconfig-common. Select Yes and press ENTER to install and configure the database.
- Then you will be asked to provide a password. You can choose anything. The MySQL application password is only used internally by phpMyAdmin to communicate with MySQL. You can leave this blank and a password will be generated automatically.
Step 7: Create a symbolic link
In order for Nginx to serve the phpMyAdmin files correctly, we must create a symbolic link from the phpMyAdmin directory /usr/share/phpmyadmin to the Nginx document root directory. The default location of the Nginx document root should be /var/www/html/, though it could be different depending on your setup.
sudo ln -s /usr/share/phpmyadmin /var/www/html/phpmyadmin
You should now be able to access the phpMyAdmin web interface by visiting localhost followed by /phpmyadmin
sudo ln -s /usr/share/phpmyadmin /var/www/html/phpmyadmin
You should now be able to access the phpMyAdmin web interface by visiting localhost followed by /phpmyadmin
Step 8: Configure Nginx
All the configuration we need to make is in the following config file. Go ahead and open it up in Nano using the following command (use another editor if you prefer).
sudo nano /etc/nginx/sites-available/default
The first change we need to make to this file is to allow it to recognize index.php as a valid file to deliver. In the line with all of the index names, we will add index.php to the list of allowed file types to deliver by default.
server {
listen 80 default_server;
listen [::]:80 default_server;
root /var/www/html;
index index.php index.html index.htm index.nginx-debian.html;
server_name _;
location / {
try_files $uri $uri/ =404;
}
}
First things first we want to tell Nginx to use your php-fpm that we installed earlier. This will be represented by the first location block that we add (it will actually be the second on in the document though).
The second location block we are adding (the third in the file) will be telling Nginx to ignore .htaccess files. This is because .htaccess files are for Apache and we are using Nginx. Sometimes Laravel files will have .htaccess files in them by default so let’s just make sure that if one gets onto our server to make sure it doesn’t interfere with anything and our users do not have access to it.
server {
listen 80 default_server;
listen [::]:80 default_server;
root /var/www/html;
index index.php index.html index.htm index.nginx-debian.html;
server_name 107.191.44.91;
location / {
try_files $uri $uri/ =404;
}
location ~ \.php$ {
include snippets/fastcgi-php.conf;
fastcgi_pass unix:/run/php/php7.0-fpm.sock;
}
location ~ /\.ht {
deny all;
}
}
To save it remember to press Ctrl + X and then type Y and then press enter.
Make sure you don't get any error by running
sudo nginx -t
If you get something similar to this, then you did very well.
nginx: the configuration file /etc/nginx/nginx.conf syntax is ok
nginx: configuration file /etc/nginx/nginx.conf test is successful
Now, restart the Nginx server
sudo systemctl reload nginx
composer global require "laravel/installer"
That's it and now you have access to laravel command. You can type laravel new <forlder-name> to create a new project.
If you need git then run sudo apt install git
If you want to know how to clone a Laravel project from GitHub then check out other posts on this site.
Now you have successfully created a new project and ready to go. Don't worry about running the server each time when you on your PC. Linux will automatically start it.
Additional information and startup tips for beginners on Laravel is written in another blog post.
Also, don't forget to support my channel by subscribing to it. Click the bell icon for not missing any of my future videos.
sudo nano /etc/nginx/sites-available/default
The first change we need to make to this file is to allow it to recognize index.php as a valid file to deliver. In the line with all of the index names, we will add index.php to the list of allowed file types to deliver by default.
server {
listen 80 default_server;
listen [::]:80 default_server;
root /var/www/html;
index index.php index.html index.htm index.nginx-debian.html;
server_name _;
location / {
try_files $uri $uri/ =404;
}
}
First things first we want to tell Nginx to use your php-fpm that we installed earlier. This will be represented by the first location block that we add (it will actually be the second on in the document though).
The second location block we are adding (the third in the file) will be telling Nginx to ignore .htaccess files. This is because .htaccess files are for Apache and we are using Nginx. Sometimes Laravel files will have .htaccess files in them by default so let’s just make sure that if one gets onto our server to make sure it doesn’t interfere with anything and our users do not have access to it.
server {
listen 80 default_server;
listen [::]:80 default_server;
root /var/www/html;
index index.php index.html index.htm index.nginx-debian.html;
server_name 107.191.44.91;
location / {
try_files $uri $uri/ =404;
}
location ~ \.php$ {
include snippets/fastcgi-php.conf;
fastcgi_pass unix:/run/php/php7.0-fpm.sock;
}
location ~ /\.ht {
deny all;
}
}
To save it remember to press Ctrl + X and then type Y and then press enter.
Make sure you don't get any error by running
sudo nginx -t
If you get something similar to this, then you did very well.
nginx: the configuration file /etc/nginx/nginx.conf syntax is ok
nginx: configuration file /etc/nginx/nginx.conf test is successful
Now, restart the Nginx server
sudo systemctl reload nginx
Step 9: Install Composer
Now that our server is setup, we need to install Composer to get started with Laravel.
cd ~
curl -sS https://getcomposer.org/installer | php
Now we have composer.phar in our home folder, and it’s time to move it into our bin so we can use composer commands easier by just typing composer.
sudo mv composer.phar /usr/local/bin/composer
You can try typing composer to make sure you have successfully installed composer.
Now we can install Laravel command line so that we can quickly create a new project using it. Check out Laravel Documentation to know about other ways to create a new project.cd ~
curl -sS https://getcomposer.org/installer | php
Now we have composer.phar in our home folder, and it’s time to move it into our bin so we can use composer commands easier by just typing composer.
sudo mv composer.phar /usr/local/bin/composer
You can try typing composer to make sure you have successfully installed composer.
Step 10: Installing Laravel command Line
composer global require "laravel/installer"
That's it and now you have access to laravel command. You can type laravel new <forlder-name> to create a new project.
If you need git then run sudo apt install git
If you want to know how to clone a Laravel project from GitHub then check out other posts on this site.
Now you have successfully created a new project and ready to go. Don't worry about running the server each time when you on your PC. Linux will automatically start it.
Additional information and startup tips for beginners on Laravel is written in another blog post.
Also, don't forget to support my channel by subscribing to it. Click the bell icon for not missing any of my future videos.
Have you ever come across errors at the time of opening the Binance account? Login issues are quite common among all other issues and should be fixed on time so that users can open the account and continue their work. If you don’t know how to deal with such issues and looking for accessible guidance, you can directly knock the doors of skilled professionals who are there to guide you. You can always call on Binance toll-free number which is approachable from every corner of the world.
ReplyDelete